

Retro photo effects are all the rage! There’s plenty of apps to give your photos the vintage look in your iPhone, but what about your desktop images? Follow this super quick Photoshop tutorial to easily add a retro effect to your images in 3 simple steps.
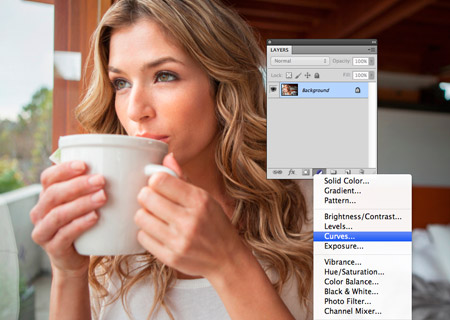
We’re going to use Photoshop’s Curves adjuster to modify the image’s colours. You can either do this by going to Image > Adjustments > Curves or by adding an Adjustment Layer. An Adjustment Layer is the better choice seeing as it’s non-destructive, allowing you to remove the effect at any time.
We’re going to use Photoshop’s Curves adjuster to modify the image’s colours. You can either do this by going to Image > Adjustments > Curves or by adding an Adjustment Layer. An Adjustment Layer is the better choice seeing as it’s non-destructive, allowing you to remove the effect at any time.
Step 1: Change the drop down menu in the Curves options to the Red option, then click and drag the line and create a positive bend. This will increase the reds in the overall colour balance.

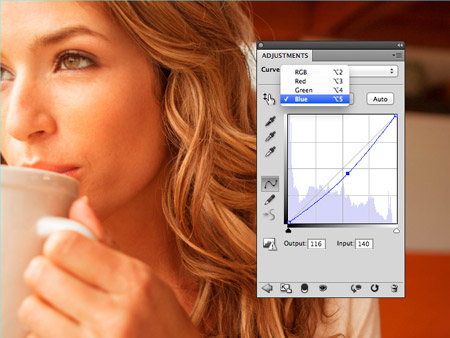
Step 2: Now Switch the drop down menu to the Blue option. Drag this line to create a negative bend. This will decrease the amount of blue in the colour balance, giving the image more of a yellow tone.
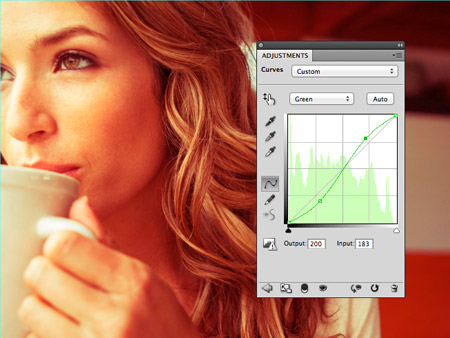
Step 3: After this, Change the drop down menu to the Green option and add two points in this line to create an S-shaped bend. This helps make the reds in the shadows more prominent, while bringing out those yellows in the highlights.
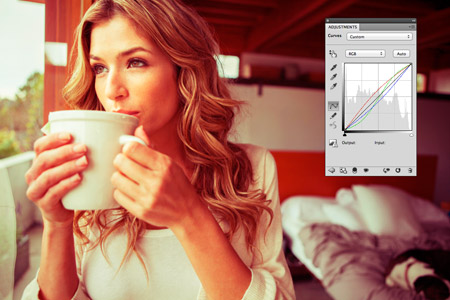
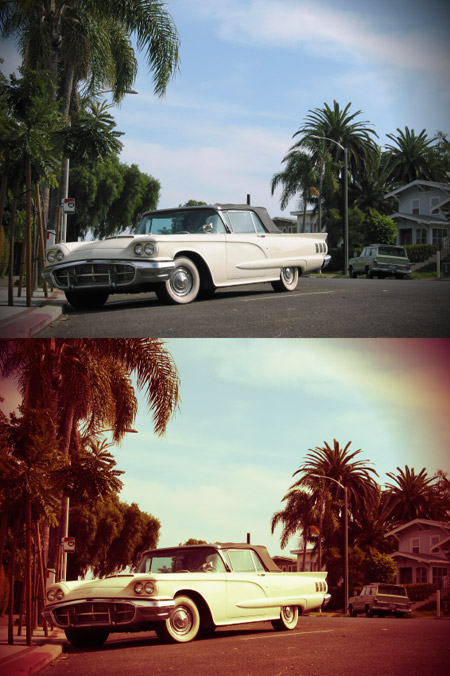
Final Results:
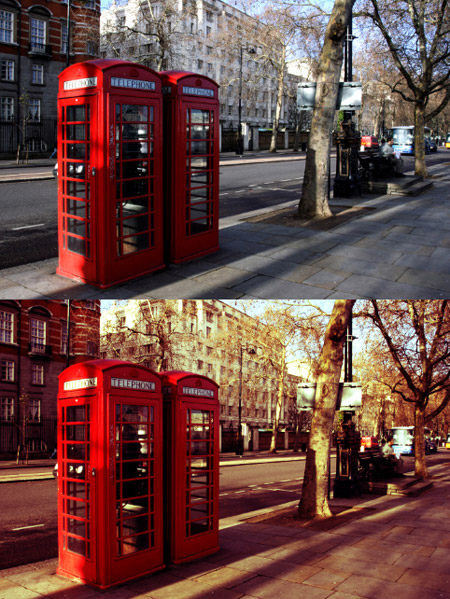
Other Images with the Retro Effect:

 About
About Tags
Tags Popular


Easy and Simple Like Me...
ReplyDelete@jayi